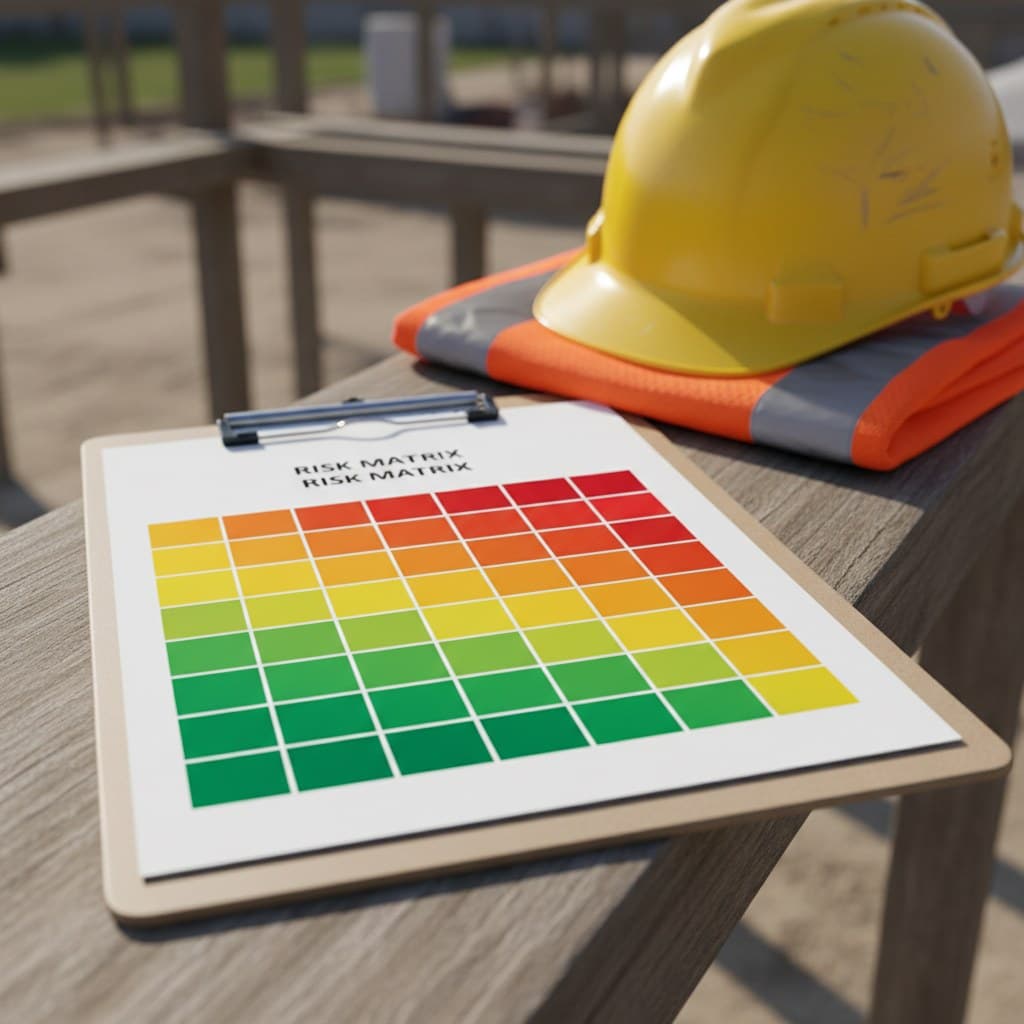
Every site worker has seen one. A grid with numbers down the side, numbers across the top, and a hazard dropped somewhere in the middle with an "L" or an "H" next to it. Most of us use it without ever being told what the numbers actually mean or where they came from.
This guide fixes that. We'll break down what a risk matrix is, how the 5x5 scoring works, what the scales mean in plain English, and how to score a hazard properly so your ratings hold up if anyone challenges them. This is a deep dive into the scoring tool itself. For the wider process around it, our full risk assessment process guide walks through all five steps.
Quick answer
The short version
What Is a Risk Matrix?
A risk matrix does one job: it turns two judgements into one number. You rate how likely a hazard is to cause harm, you rate how severe that harm would be, and you multiply them together. The result is a risk rating you can use to decide what needs fixing first and what needs stopping altogether.
The most common version on UK sites is the 5x5 matrix. Five likelihood levels, five severity levels, twenty-five possible outcomes. Some firms use 3x3 or 4x4 grids instead, and that's fine. The grid size isn't the point. Consistency is.
Here's the bit many people miss: no UK regulation requires you to use a matrix at all, and no regulation sets out a specific format. The legal duty comes from the Management of Health and Safety at Work Regulations 1999, regulation 3, which requires every employer to make a suitable and sufficient risk assessment. A matrix is a commonly used tool that helps you meet that duty. It's not the duty itself.
What a Risk Matrix Is Not
It's not a legal requirement. It's not a guarantee of anything. A score of 4 doesn't prove a job is safe any more than a score of 20 proves a court would find you negligent. The number supports your judgement. It doesn't replace it.
It's also not a substitute for thinking. If you score a hazard and move on without considering real controls, the matrix has added nothing. We'll come back to common scoring mistakes later, because they're where most risk assessments fall down.
Summary
At a glance
- What it is
- A grid scoring likelihood and severity to produce a risk rating
- Legal status
- Not required by any UK regulation, but a widely accepted way to support a suitable and sufficient risk assessment
- How it works
- Score likelihood (1-5) x severity (1-5) to get a score out of 25
- UK authority
- MHSWR 1999 reg 3 requires the assessment; no body mandates the matrix
- Output
- A rating that drives which controls you apply and in what order
How a 5x5 Risk Scoring Matrix Works
The 5x5 grid has five likelihood rows and five severity columns, giving 25 cells in total. You'll usually see each cell colour-coded green, amber or red so the rating is obvious at a glance. Here's how each axis works.
The Likelihood Scale
Likelihood asks how probable it is that the hazard actually causes harm. There's no statutory wording for these levels. The bands below are industry convention, and a sensible example of how firms commonly express it:
- 1 - Rare: it could happen, but you'd struggle to find a case of it happening on a job like this.
- 2 - Unlikely: possible, but there's no obvious reason it would happen here.
- 3 - Possible: it has happened on similar jobs, and the conditions exist for it to happen again.
- 4 - Likely: it will probably happen at some point if nothing changes.
- 5 - Almost certain: it happens regularly on work like this, or it's waiting to happen.
Judge likelihood for the score you are working out. For inherent risk, assume no controls are in place. For residual risk, assume your controls are in place and working as intended. A scaffolded edge with guardrails makes a fall far less likely than an open edge, and that difference belongs in the residual likelihood score, not the inherent one.
The Severity Scale
Severity asks the worst credible outcome, not the worst imaginable one and not the most optimistic one. A common way of setting the scale:
- 1 - Negligible: minor injury needing no more than first aid.
- 2 - Minor: injury or illness needing some recovery time, no lost days expected beyond short term.
- 3 - Moderate: injury or illness that keeps someone off work or restricts what they can do.
- 4 - Major: serious injury, major permanent harm or a long absence.
- 5 - Catastrophic: fatality or life-changing injury.
Note the phrase "worst credible". A trip on a flat, clear floor might credibly end in a fracture, not a death. A fall from a sixth floor scaffold, however well guarded, could credibly kill. Severity reflects the hazard's potential, whatever you hope the controls will do.
Multiplying the Scores Into a Risk Rating
Multiply likelihood by severity and you get a score between 1 and 25. An almost certain chance (5 x 4 = 20) of a major injury and a rare chance (1 x 4 = 4) of the same injury produce very different scores, and very different priorities.
The way scores map to ratings varies from firm to firm, and again, there is no standard that law imposes. A simple, common banding is the one used in this guide: a score of 15 or more rates as High risk, a score of 8 to 14 rates as Medium risk, and anything below 8 rates as Low risk. It's one sensible approach, not a rule other firms must copy, so use whichever banding your firm or client has agreed and apply it consistently.
Worked Example: Scoring a Hazard
Let's score one hazard properly, twice. First without controls, then with them. This is the difference between inherent risk and residual risk. Inherent risk is the score before controls. Residual risk is the score after controls, once control measures are in place.
Risk assessment example
- Hazard
- Falling through or from a fragile roof light while working on a flat roof
- Who may be harmed
- Operatives installing PV panels and workers below
- Controls
- Mesh-type cover fitted over the roof light before work starts, working within a designated area away from the edge, task briefed at toolbox talk
- Residual risk
- Medium
Score it before controls and the picture is grim. Working near an uncovered roof light, without guarding, work at height over a fall through opening is near certain to cause serious or fatal harm if it goes wrong. You'd score likelihood around 3 (possible, because operatives will pass that roof light repeatedly) and severity at 5 (a fall through a fragile surface can kill). Inherent score: 15. That's High risk on the banding above. Not a score you work with.
Now add controls and score again. A properly fitted cover cuts the chance of anyone going through the roof light, so the likelihood falls sharply, but only while the cover stays suitable, secure and in place. The residual score might be likelihood 2, severity 5, giving 10: Medium risk. Notice what happened there. Severity stayed at 5. Controls mainly reduce likelihood, not severity. A fall from height remains potentially fatal no matter how good your controls are. What your controls change is how plausible that fall becomes.
That's the honest reading of a matrix, and it's worth saying in your bank of risk assessment docs. If severity genuinely drops, it's usually because you've eliminated the hazard outright, which is exactly what the hierarchy of control asks you to try first.
Calibrating Your Scores So They Hold Up
Two assessors can score the same hazard differently and both be acting in good faith. That's fine, and it's normal. What matters is that your scoring is defensible. These two habits do most of the work.
Checklist
- Write down what each likelihood number means
- Write down what each severity number means
- Score the same hazard with someone else and compare
- Record why you chose each score
- Re-score once controls are in place
- Keep the completed matrix with your RAMS
Write Your Scale Definitions Down
Don't just hand someone a grid with numbers 1 to 5. Write down what each point on both scales actually means, in the language of your trade, and use the same definitions every time. If "moderate" means different things on Monday and Friday, your residual scores mean nothing. This also matters if your RAMS are audited or you need to show a client how you rate risk. The written scale is the evidence that your scoring isn't arbitrary.
Score as a Team and Record the Reasoning
Scoring on your own risks two errors at once: optimism about how often things actually go wrong and blind spots about the job. Score with the people who'll do the work, or at least with someone who's been on a similar job before. Then write down why you scored it the way you did, a sentence next to the number is enough. "Likelihood 3 because roof lights on this roof type are regularly uncovered during set-up" reads far better in a review than a bare 3 on its own.
Reading the Results: What Each Risk Rating Means
Once you've got a residual score, the rating tells you what to do next. On the banding used in this guide, a Low rating (below 8) means the controls in place are reasonable and the job can proceed, with monitoring if the situation changes. A Medium rating (8 to 14) means the job can usually proceed, but you should look for further controls or a better method, and you should make sure the ones you've listed are actually enforced on site.
A High rating (15 or more) is the one to treat seriously. That's a residual score that says the work is currently not adequately controlled. It doesn't automatically forbid the job, but it's the point where you stop and reconsider the approach, not crack on.
When a Score Is Too High to Proceed
We'll be blunt here, because this is the one mistake that genuinely hurts people.
Important safety warning
Where the Risk Matrix Fits in Your RAMS
Your RAMS, your risk assessment and method statement package, uses the matrix rating at a specific point: after you've identified hazards and before or alongside the controls. The rating drives the priority and shows the reader, at a glance, how serious each hazard is and how well it's been brought down. For more on the wider package, see what RAMS stands for.
The matrix isn't a substitute for the rest of the document. The controls, the sequence of work and the responsibilities are what actually keep people safe. The rating is the shorthand that helps someone reviewing your RAMS see your reasoning quickly. If you're building a full package from scratch, our risk assessment and method statement checklist covers everything a client will expect to see.
Limits of Risk Matrices
Risk matrices are useful, and worth using, but they have real limits. Knowing them keeps you honest.
- They're subjective. Two competent people can reasonably disagree on a likelihood or severity score, especially where the hazard is unfamiliar.
- They compress information. A single number hides the reasoning, so the written rationale matters as much as the score.
- They can mislead on combined risks. A matrix scores one hazard at a time. Real jobs pile hazards on top of each other, and the matrix doesn't add those up for you.
- They don't drive control selection. Knowing a hazard is High risk doesn't tell you what to do about it. The hierarchy of controls does that, and the matrix just ranks which hazards you tackle first.
None of that is a reason to bin the matrix. It's a reason to use it as a supporting tool rather than the whole answer. When regulations don't dictate the format, some firms fall back on 3x3 or 4x4 grids. That's acceptable. Some prefer a more detailed hazard alongside a broader matrix. Both work if they're backed by a considered process. What matters is that the scoring is consistent and the controls that follow are real.
Compliance note
General guidance, not legal advice
Common mistakes
- Letting the residual score alone sign the job off, rather than checking the controls are real
- Scoring in isolation without the people who'll actually do the work
- Changing severity to flatter the score, rather than honestly reflecting the hazard's potential
- Using the matrix as a substitute for describing controls and method in detail
- Using the same score twice with no written justification for the number
Next step