Quick answer
The short version
A carpenter or joiner risk assessment needs to name the hazards that are specific to working with timber and power tools, not just repeat generic site rules. That means bench saw and circular saw safety, timber dust under COSHH, hand-arm vibration from sanders and planers, and manual handling of long timbers and sheet material. This guide covers each hazard, the controls that hold up, and how to write it down properly.
Why Carpentry Needs Its Own Risk Assessment
A generic construction risk assessment usually covers slips, trips, working at height and not much else. That's fine as far as it goes, but it misses almost everything that actually causes harm in carpentry and joinery work. Bench saws, timber dust, vibration from hand tools and heavy sheet materials don't show up on a template written for a general labourer, and they need to be named specifically if the assessment is going to mean anything.
The legal backbone here is the Health and Safety at Work etc. Act 1974, which sets the general duty to protect anyone affected by your work. Sitting underneath that are the Provision and Use of Work Equipment Regulations 1998 (PUWER) for saws and machinery, the Control of Substances Hazardous to Health Regulations 2002 (COSHH) for timber dust, and the Manual Handling Operations Regulations 1992 for timber and sheet materials. Each one expects controls specific to the actual task, not a box ticked and left at that.
First fix and second fix carry different risk profiles, and it's worth treating them separately in your assessment rather than lumping "carpentry" into one entry. First fix is heavier, more exposed, and involves bigger structural timbers. Second fix is finer work, more repetitive tool use, and often happens in a finished space with a client walking past. Workshop-based work is different again, with fixed machinery and dust extraction to think about instead of a site full of other trades.
Summary
At a glance
- Main hazards
- Bench saws, circular saws, timber dust, HAVS, manual handling
- Key legislation
- HSW Act 1974, PUWER 1998, COSHH 2002, MHOR 1992
- Timber dust WEL
- Hardwood 3 mg/m3, softwood 5 mg/m3
- HAVS exposure limits
- EAV 2.5 m/s2, ELV 5.0 m/s2 A(8)
- Minimum RPE for dusty work
- FFP3 mask
First Fix Hazards
First fix carpentry covers joists, roof timbers, stud walls and structural framing, usually before the building's weathertight and often before other finishes are in. The hazards here lean towards height, weight and exposure to the rest of the site.
Working at height fitting joists and roof timbers is the obvious one. Falls from height are still one of the biggest causes of serious injury in construction, and first fix carpenters spend a lot of time working near open edges, unprotected voids and roof structures that aren't fully braced yet. Proper edge protection, correctly used harnesses where fall arrest is the only option, and boarding out floors before you start work above them all need to be named in the assessment, not assumed as "standard practice".
Manual handling of long timbers and sheet materials is a constant feature of first fix work. Roof trusses, long joists and full sheets of OSB or ply are awkward as much as they are heavy, and carrying them up ladders, through door openings or across scaffolding adds risk that a flat-ground lift doesn't have. Nail gun and cartridge-tool safety also belongs here specifically. Powder-actuated fixing tools and pneumatic nail guns can cause serious injury through misfires, ricochets or unintended discharge, and they need trained operators, correctly maintained kit, and a clear rule against pointing them at anyone, even as a joke.
First fix rarely happens in isolation. Other trades working overhead, unguarded floor and stair openings, and shared access routes all add risk that's outside the carpenter's direct control but still needs to appear in the assessment. If you're working under scaffolders or roofers, or above someone doing first fix electrics below, that overlap needs a line of its own rather than being folded into "general site hazards".
Second Fix Hazards
Second fix is finer, more repetitive work: skirting, architrave, doors, staircases and fitted joinery. The physical risks shift from height and weight towards repetitive strain and fine dust.
Repetitive power-tool use is the main one to flag. Mitre saws, planers and sanders all transmit vibration into the hands and arms, and second fix work often means hours of trigger time on the same tools in a single day. This is where hand-arm vibration syndrome (HAVS) risk builds up, and it needs its own entry in the assessment rather than being covered by a generic "use tools safely" line. See the HAVS section below for the exposure limits and what to record.
Fine timber dust from sanding finished materials is a different exposure pattern to first fix sawdust. Sanding produces very fine particles that stay airborne longer and go deeper into the lungs, and it's often done in confined rooms without the dust extraction you'd have on a bench saw in a workshop. Manual handling still features at second fix, just with different loads: internal doors, kitchen units and finished staircase components that need careful handling to avoid damaging the finish as much as avoiding injury.
Working in occupied buildings changes the picture again. Dust control and client safety both need to be addressed when you're fitting a staircase in someone's home rather than an empty shell. Dust sheets, sealed-off work areas and a plan for keeping fine dust out of the rest of the house all belong in a second fix risk assessment done in an occupied property.
Bench Saw and Circular Saw Safety
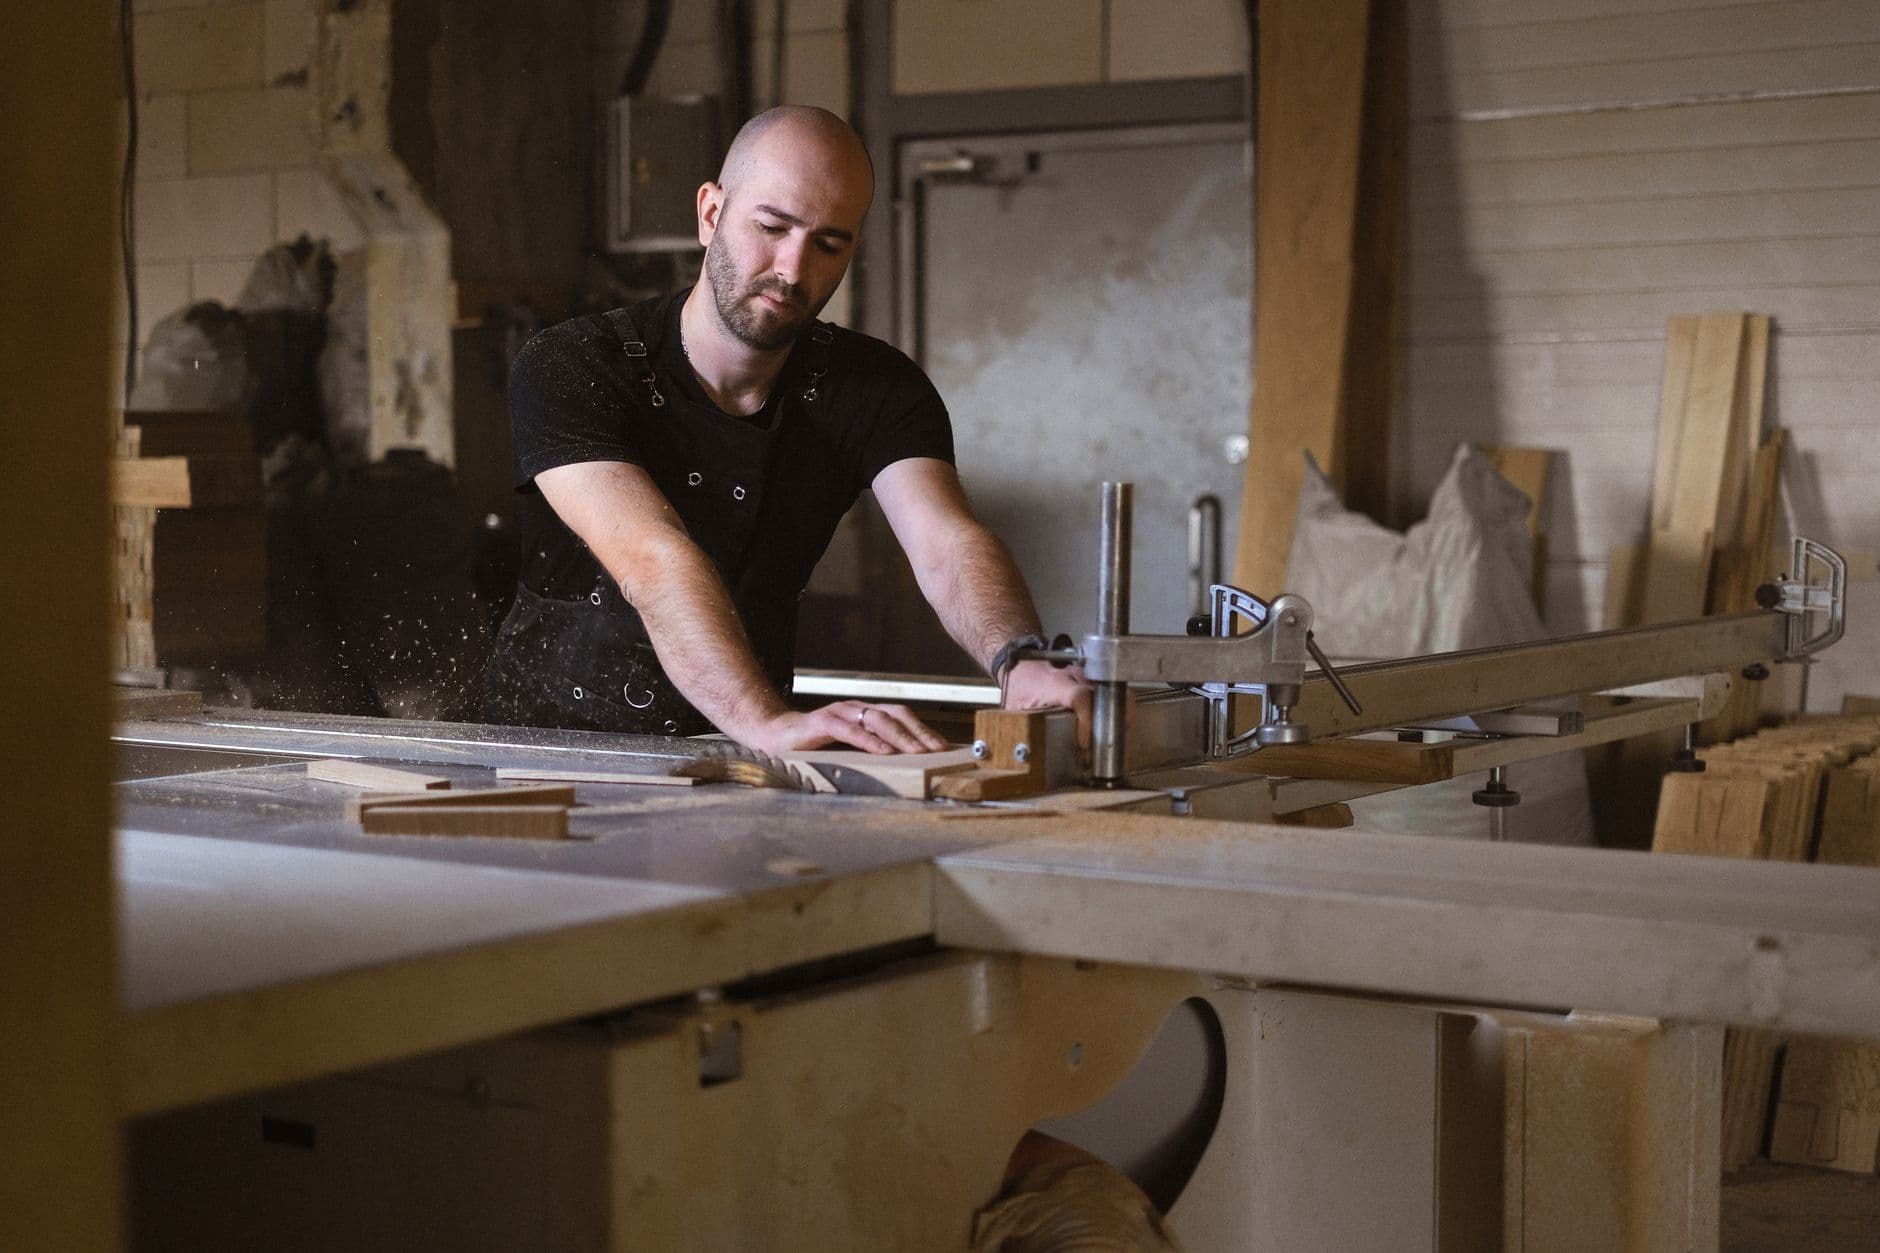
Table saws and circular saws cause a disproportionate share of serious hand injuries in carpentry, and the mechanisms are well understood even if they still catch people out. On a table saw, kickback happens when the workpiece binds against the blade and gets thrown back towards the operator with real force. Blade contact and trapping happen when hands get too close to an exposed blade, often while clearing offcuts or adjusting a piece mid-cut. Circular saws carry reactive torque, meaning the saw can twist or kick in the operator's hands, and blade binding when the kerf closes on the blade during a cut.
The required controls aren't optional extras. A riving knife keeps the kerf open behind the blade and is the main defence against kickback on a table saw. Blade guards need to be fitted and adjusted correctly, not removed because they're "in the way". Push sticks keep hands clear of the blade on narrow cuts, and there's no good reason to freehand a narrow rip cut with fingers near the blade when a push stick costs almost nothing.
PUWER 1998 sets out the legal requirements for woodworking machinery, including that dangerous parts must be guarded and that equipment must be suitable for the job, properly maintained, and used only by people trained to operate it. That covers bench saws, planers, thicknessers and spindle moulders as much as it covers handheld power tools.
Checklist
- Riving knife fitted and correctly adjusted on table saws
- Blade guard fitted, adjusted, and never removed for convenience
- Push sticks used for narrow or awkward cuts
- Blades sharp and correctly tensioned to reduce kickback risk
- Eye protection worn for all cutting operations
- Hearing protection worn for prolonged saw use
- Respiratory protection worn where dust extraction isn't sufficient
- Hand protection appropriate to the task, removed before the cut itself
Timber Dust and COSHH
Timber dust is a COSHH substance whenever the work generates airborne wood dust that someone could inhale, which in practice means almost any sawing, sanding, routing or planing operation without effective extraction. It's easy to think of sawdust as a nuisance rather than a health hazard, but the exposure limits exist because prolonged inhalation causes real harm, including asthma, dermatitis and, for hardwood dust specifically, nasal cancer.
The workplace exposure limits (WELs) are 5 mg/m3 for softwood dust and 3 mg/m3 for hardwood dust, measured as an 8-hour time-weighted average. Hardwood dust has the lower limit because it's classified as a carcinogen, so it needs to be treated as the more serious exposure of the two even though it often looks and feels the same as softwood dust on the bench.
Local exhaust ventilation (LEV) fitted to saws and sanders is the main control, capturing dust at the point it's created rather than letting it spread through the workshop or room. Where LEV can't bring exposure down far enough on its own, respiratory protective equipment (RPE) fills the gap, and an FFP3 mask is the minimum standard for dusty carpentry work. Fit testing matters here too. An FFP3 mask that doesn't seal properly against someone's face isn't giving the protection the rating suggests.
Monitoring exposure and arranging health surveillance for anyone regularly exposed to wood dust, particularly hardwood, is part of managing this risk properly rather than a one-off task. A joiner running a workshop full-time has a very different exposure pattern to someone doing occasional site fixing, and the assessment should reflect that difference.
HAVS from Power Tools
Hand-arm vibration syndrome is a genuine long-term risk for carpenters, and it's caused by the specific tools that make up most of a joiner's kit. Circular saws, orbital and belt sanders, planers and nail guns all transmit vibration into the hands, and the damage builds up over years of exposure rather than showing up after one bad day.
The Control of Vibration at Work Regulations 2005 set an exposure action value (EAV) of 2.5 m/s2 A(8) and an exposure limit value (ELV) of 5.0 m/s2 A(8). The EAV is the point where you need to start actively managing exposure. The ELV is the daily limit that must not be exceeded. Both figures are calculated as an 8-hour energy-weighted average, so the actual trigger time on the tool matters as much as the tool's raw vibration output.
Assessing HAVS risk properly means tracking trigger time for each tool used across a working day, alongside the manufacturer's vibration data for that specific tool. HSE publishes a free vibration exposure calculator as a downloadable spreadsheet that does this arithmetic for you once you've got trigger times and vibration magnitudes entered.
Controls worth naming specifically: choosing lower-vibration tools where the job allows it, rotating jobs between team members so no one individual racks up excessive trigger time on the worst-offending tools, and keeping hands warm in cold conditions since cold makes HAVS symptoms worse. Anti-vibration gloves are worth a mention too, but only with the caveat that their real-world benefit is limited and they shouldn't be relied on as the main control.
Manual Handling of Timber and Sheet Materials
There's no legal weight limit written into the Manual Handling Operations Regulations 1992. What the regulations actually require is that you avoid hazardous manual handling where it's reasonably practicable to do so, and where you can't avoid it, you assess the risk and reduce it to the lowest level reasonably practicable. That's a judgement call based on the load, the person, the task and the environment, not a number you can look up.
In practice that means naming the loads that actually come up in carpentry work. An 18mm MDF sheet is awkward more than heavy on its own, but two people carrying one through a doorway or up a staircase is a different task to one person managing it in an open workshop. Long timbers carry a similar problem: manageable weight, awkward length, and a real risk of catching an edge or losing balance while turning a corner.
Team lifting is the go-to control for awkward loads like full sheets and long lengths, but it only works if everyone involved has agreed the plan and the route beforehand, not worked it out mid-lift. Mechanical aids reduce risk more reliably than adding people to a lift. Trolleys and panel lifters move sheet material without anyone needing to carry it at all, and they're worth the setup time on any job with repeated heavy lifts.
For repetitive lifting, technique matters over the course of a day even when any single lift looks manageable. Keeping loads close to the body, avoiding twisting under load, and taking a moment to plan the route before picking anything up all reduce cumulative strain, which is where a lot of manual handling injuries actually come from rather than one dramatic lift gone wrong.
PPE for Carpenters
Standard PPE for carpentry work covers safety footwear and eye protection as a baseline for pretty much any workshop or site day. Beyond that baseline, the right PPE depends on the specific task rather than a blanket list applied to every job.
Hearing protection is needed for any prolonged saw work, since cumulative noise exposure from bench saws and routers adds up over a working day even when no single cut feels particularly loud. RPE is needed for dusty work, with an FFP3 mask as the minimum standard covered earlier in the COSHH section. Hand protection needs picking task by task too. Gloves that help with handling rough timber or sheet material need to come off before operating a saw, since loose material near a spinning blade is its own hazard.
The regulations covering PPE are the Personal Protective Equipment at Work Regulations 1992 (PPER 1992, SI 1992/2966), amended in 2022 by SI 2022/8 to extend duties to cover limb (b) workers as well as employees. It's worth getting this reference right in a risk assessment. "PPE Regs 2002" is a common mistake and isn't the correct citation.
Writing a Risk Assessment for Carpentry Work
A carpentry risk assessment follows the same basic structure as any other trade: identify the hazards, work out who could be harmed and how, judge the level of risk, set out the controls that bring that risk down, and record it in a way someone else could actually follow on site.
Step by step
- 1Identify HazardsList the actual hazards on this job, not a generic set. Saws, dust, vibration, and the specific loads you'll be handling all need naming.
- 2Decide Who's HarmedName who's exposed, including the carpenter doing the cut, anyone nearby, and, for occupied buildings, the client or other occupants.
- 3Assess the RiskJudge how likely harm is and how serious it would be, given the controls you already have in place.
- 4Set the ControlsWrite down the specific control for each hazard, such as LEV fitted, FFP3 worn, or a team lift with a named route.
- 5Record and ReviewWrite it down clearly enough that someone else could follow it, then review it if the job or conditions change.
Where this really matters for carpentry is matching the assessment to the actual work setting. Workshop bench work with fixed machinery and dust extraction is a different risk picture to first fix framing on an open site, which is different again to second fix joinery in an occupied home with a client walking through the work area. Writing one generic "carpentry risk assessment" and using it for all three misses the hazards that are specific to each setting.
Common Mistakes
Common mistakes
- Using one generic carpentry RAMS for workshop, first fix and second fix work without adjusting it
- Listing 'dust' as a hazard without naming the WEL, the extraction in place, or the RPE worn
- Treating HAVS as a tick-box rather than tracking actual trigger time per tool
- Writing 'manual handling - heavy timber' without naming the load, the team lift plan or the mechanical aid used
- Citing 'PPE Regs 2002' instead of the correct PPER 1992 (amended 2022)
- Removing riving knives or blade guards because they slow the cut down